Monday, December 18, 2006
Wall Repair 101
So I have become a self-proclaimed expert (in my opinion) on repairing walls. From the wee little nail hole, to the “holy-shit” our curtain rod just took a huge chunk of our wall out to the needing to smooth out rough surfaces over an entire room….I think I can handle any wall repair! :-)
So here is the 411 on how to repair/smooth out problems on your wall!
First, I recommend an all-purpose joint compound. This could vary slightly depending on your situation, so ask your home improvement store expert!
HOW TO:
1. First, sand the surface thoroughly you want to repair. This sanding roughens the surface and provides a good base for the joint compound (mud) you will use.
2. Use coarse sandpaper and a good sandpaper block. For large areas to be repaired, use a power sander. *Remember to wear a mask and eye protection when sanding
3. Fill the dent with a good grade of joint compound using a 3" or 4" spreader. Spread the compound evenly a couple times over the area you want to fix. Once it is covered completely press your spreader down firmly over the dented area removing any large chunks of mud. You want the area to be smooth and even with the wall.
4. For extremely large dents, allow the compound to dry overnight and then apply a second coat. *For larger dents home improvement store sell a plastic sticky net that you can put over the hole before you apply the mud. We used this and it worked great!
5. When the material is completely dry, sand the area (wear mask and protective goggles) and prime it for a coat of paint or other finish.
6. Be sure to remove any high or low spots in the patched area with a fine sandpaper.
(I got these directions off DIY website and then added my own info!!)
Hope this information helps!!!!!
The Dining Room Fiasco


So let me bring you up to date on the "progress" we have been making on our dining room! Yes, this one little room has been taking up ALL our time since we started working on the house on December 2. Everyday that we have been at the house working, a portion of our time has been spent getting this dining room ready!
So a recap:
- First it started with horrible wallpaper. It was ugly and a pain in the ass to remove! This was super think not coming off the damn wall ever wallpaper!
- So we went to the store and got a steamer to quicken the progress. (Once again - steamers are sent down from God by the angels, they are wonderful!)
- By day 2 all the wallpaper in the dining room was removed! Emotional feelings at this point - VERY HAPPY!!!
- T. then spent a couple days sanding the walls by hand and wipping them off with tact cloth (a cloth with glue on it to help remove the dust off the walls from the sanding). The main reason it took so long to sand was b/c the wallpaper took off parts of the paint that was on the wall leaving parts with paint and parts with drywall. It looked horrible so T. worked VERY hard to smooth this down before we painted. Emotional feeling - tired, ready to get the room done and move on to another room.
- We primed the walls with the best primer Sherwin Williams sells. It is a grey primer and it is used to help hide any problems in the wall. We were hoping that this primer would hide all the raised areas on the wall.......it didn't work. Emotional feelings - discouraged, upset, TIRED!
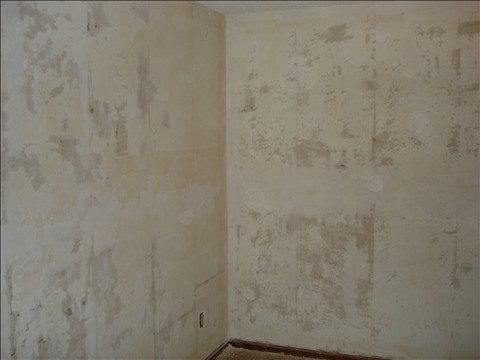
- So we went to Sherwin Williams and they told us that what we need to do is use all purpose joint compound (the mud product you use to repair holes in walls) over all the walls. Yes ALL the walls! *sigh*
- So we bought joint compound (mud) ....thank goodness it isn't expensive....and proceeded to mud the entire dining room. This my friends took a few days to finish. We had to put two layers on (letting it dry 24 hours in between each layer) and it just was a long, not hard, but long process to apply.
- T. then had to re-sand all the walls and tact cloth the walls again to remove the dust.
- Then last night we finally put the primer on again and I have to say it worked! YAY! We were so excited as we started painting on the primer to see that it was actually working! It is SO smooth with the exception of a few parts that could be smoother - but we don't care! It looks really good!
- So tonight is the first coat of paint (hopefully we only need two coats) and then the dining room is basically done.....well stage one is done! (the rest will come later)
Because this took alot longer to complete then what we originally thought and this place is in good shape overall the halls and kitchen will be done after the first of the year. We want to focus on moving in this week and we can finish these later. The biggest painting projects are just about done, and that is all that matters!!! We just wanted to get the main (harder) rooms with the most furniture and traffic finished before we moved in - and that will be complete wednesday! YAY!
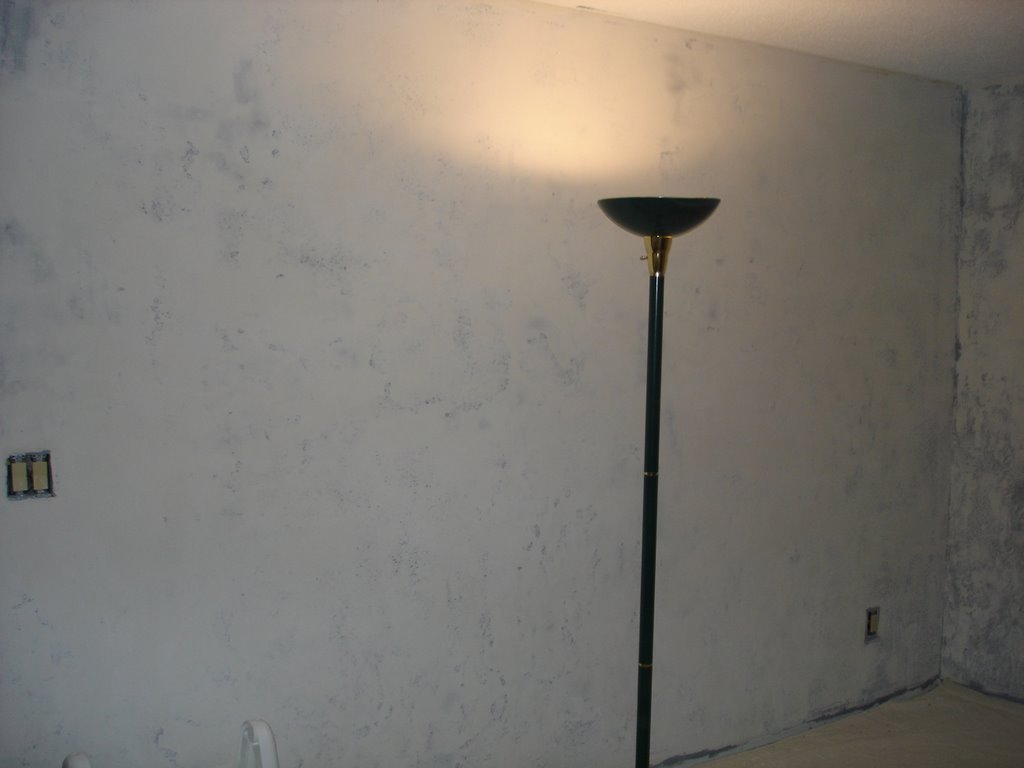
What's Done.....


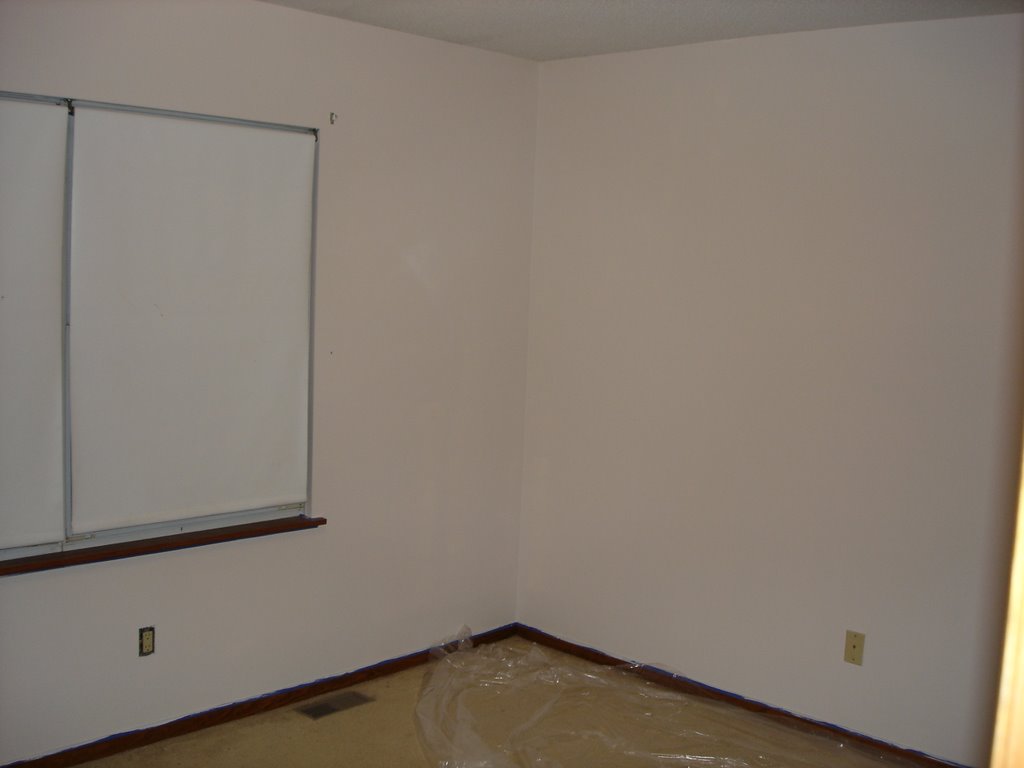
Ok, so it may not look like much, but trust me....it is alot!
The top two pics are our living room. We painted the living room and steamed clean the carpets. We painted it sand dune, which is a nice soft beige color! We love it alot! (it is hard to tell in the photos)
The bottom pic is our second bedroom, we painted that modest white, which is an off white color with a tint of brown! I like it alot better than plain white! These two rooms are completly done, of course they were the easiest!
Tuesday, December 12, 2006
Question of the Day - Home Edition!

Do you use contact paper in your cabinets and drawers?
We just removed this UGLY and old contact paper from every cabinet and drawer in the house. We are still in the process of deciding do we get new contact paper or just leave it out? Do we put it in all the drawers/cabinets or just certain ones? And what about the difference between the regular contact paper and the coushy/net like "paper" - which is better? I know it is good to protect the wood and stuff but is it important or more of a problem?
Any suggestions, what do you have, any preferences?
Wednesday, December 06, 2006
I Freak Myself Out!
So last night I spent a couple hours after work unitl T. got home by myself in the new place! The last couple days someone has been with me, but yesterday from 5:30 - 8pm I worked ALONE!
Now I don't know about any of you, but I do a pretty damn good job at Freak'n myself out! First, I don't like being alone at night. I always think someone is hiding in a closet or something (this is why I refuse to watch scary movies - because I think it is real!) So anyways - being downstairs sucked b/c some of the windows do not have curtains/drapes over them because we are painting so with the lights on I can't really see out but people could see in! (it is a nice community...but still I think about it!) So I went upstairs to do some work in our empty house and the silence was killing me! I could hear things creek/heat turning on/water/wind....EVERYTHING! And of course I focused on all the noises and freaked myself out more! After I finished taping upstairs I walked downstairs, grabbed a pepsi, and called T. to see how long before he would be home!
Now I know it is nothing! I have done the same thing with every new place I have lived as well as well as I still do it if T. isn't around at night. I check all the closets, doors, make sure no one is around! But now I have a much bigger place to check, including a basement (eek!) as well as a whole bunch of new sounds to get use to! Once we have our stuff there and I get use to the sounds it will be fine! But until then, if I am alone, I will most likely freak myself out again!
However, having this new place makes it worth it! So what if I go a little crazy in the process! haha!
Tuesday, December 05, 2006
I Hate Wallpaper!

So here it is folks….I officially HATE wallpaper! I was never a big fan of it anyways, more like a I don't really know you/can't really judge you relationship - but that has all changed! (Also, I just personally don't like the way it looks - I prefer the look of paint.) But now that my husband and I spent 5 hours working to remove wallpaper and only getting ¾ of the way done with our dining room I can honestly say it is the worst thing ever invented!!! I said it was invented by the devil, T. says the French - well who ever invented it SUCKS!!!
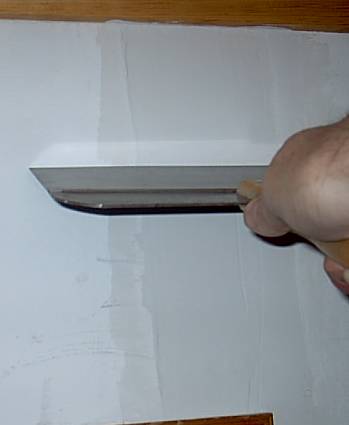
We first used the great little gadget above to put little holes all over the wallpaper (that is a task within its self). Then we sprayed on 2 coats of wallpaper remover * per directions * that we got from Sherwin Williams. Soon after we actually began scrapping we realized that the wall paper they used was extremely thick! It was almost like two separate pieces of wallpaper on top of each other! We basically peeled off the top layer and then had to go back in and spray the bottom "layer" with more remover and then scrap that off, thus soaking our walls and creating tons of extra work! It was taking me forever! So T. went out to get another scrapper so he could help and instead came back with the greatest invention ever! A steamer! (Insert choir of angels singing)
This steamer was awesome and for only $50 it is well worth the investment! My Husband used the steamer and I continued the old fashion way of removing with the wallpaper remover (why, b/c we figured both of us working is better than one and I have more patience to do the scrapping and he likes playing with new toys) so it worked out! The steamer still took awhile, especially b/c this seemed like the thickest wallpaper ever invented but it came off very easily and a lot quicker than my way. (T. got 8 panels of wallpaper to my 3 1/2). The steamer saved a lot of time and may have even prevented common husband/wife bickering due to frustrations of removing the wallpaper!
So one room down, one and a half left!
So do you have any tips for removing wallpaper? Or maybe a "fun" story about having to remove wallpaper?
TIP: Not that I have much experience to speak of but I would say it is well worth the investment to use better products like a steamer. A steamer isn't that expensive, doesn't use chemicals, doesn’t damage the walls and makes the job so much faster and easier! If you have the time, patience, a smaller space (or maybe just thinner wallpaper) and want to use the chemicals I say go for it – but for us and our situation the steamer is da’ bomb!
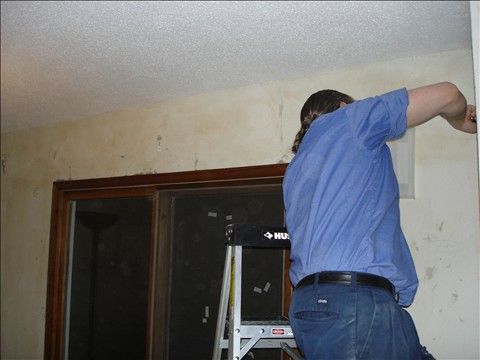
Dining Room - Before
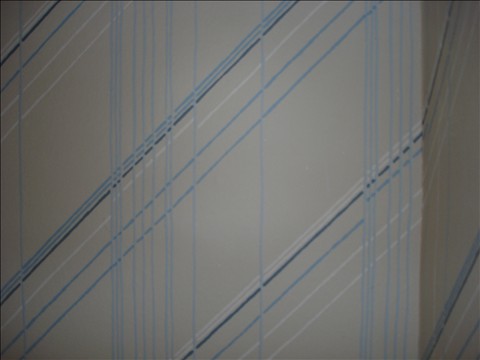

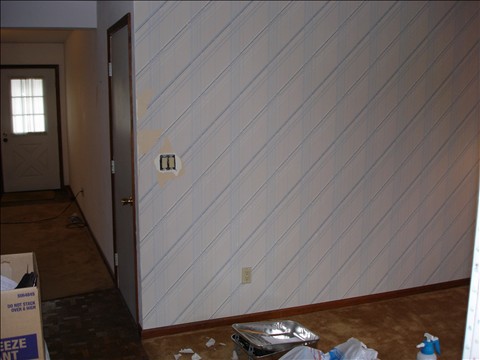
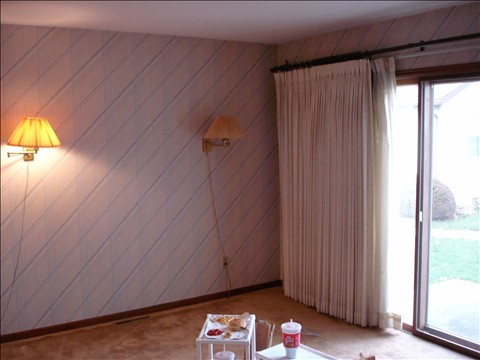
Here are a few before pictures of the dining room. This is where we are starting. The top picture is a pic of the wallpaper from hell (blog to follow)! You can also see those kick-ass lights on the wall that look like they were taken from a motel 6! hehe
What will be done in this room before we move in:
- The walls will be painted in Fine Wine (from Sherwin Williams)
- The base board will be in a white
- New curtain
What will be done in the future:
- Remove the carpet and add the pergo hardwood floors
- Add a chair rail (white)
- Add crown molding (white)
Furniture:
- Dark cherry dining room set
- Matching server
*We will be getting our dining room set and server in the next couple weeks! (I will post pics!)
First Dinner
T. & I had our first dinner in our new home! Sunday we sat on the floor in the center of our dining room on a make-shift table and ate our first official dinner of fine Wendy's couisine! It may not have been the best first dinner, but the realization that this was OUR place kicked in and as far as we were concerned it was perfect!
Monday, December 04, 2006
Our New Home!
So, I have decided to create a secondary blog to follow the progress we are and will be making over the next few months in our new home! We are super excited about everything that is going on in our new home, however, I didn't want to flood my other blog, wrestlingkitties, with too much about the house. So this blog will post pictures of our progress as we renovate our new house and be a place for people to share ideas on home remodeling tips and pictures! Please feel free to share YOUR tips in the comments for us first time "Do-it-ourselfers" and anyone else looking to renovate!
More pictures will be coming later this evening on the progress we made over the weekend!
Please enjoy & PLEASE SHARE!!!
More pictures will be coming later this evening on the progress we made over the weekend!
Please enjoy & PLEASE SHARE!!!
![]()